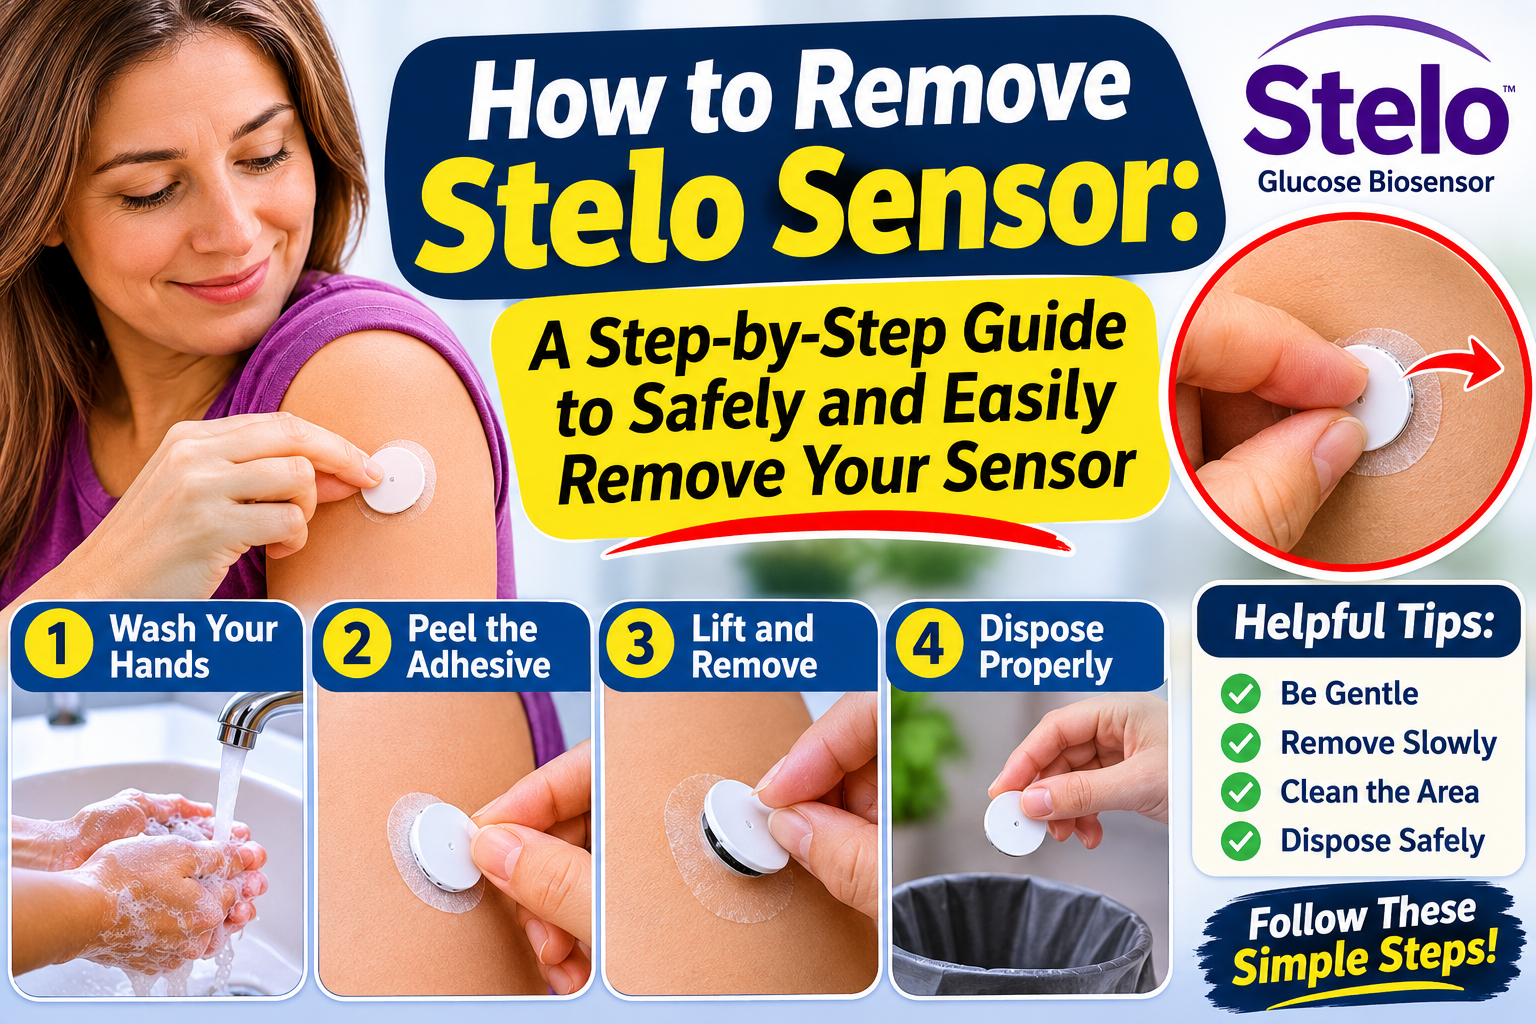
Removing a Stelo glucose sensor is generally easy if you do it properly. If your sensor is at the end of its 15-day use period, is broken, or needs to be replaced, knowing how to remove it properly can help to prevent any skin irritation and unnecessary pain.
If you’re wondering how to remove Stelo sensor safely, we explain everything you need to know in this guide including preparing to remove the sensor, step-by-step instructions on removing it, removing any adhesive left on your skin, and what to do after removing the sensor.
What is a Stelo Glucose Sensor?
The Stelo Glucose Biosensor, made by Dexcom, is a wearable glucose monitoring device that tracks your glucose levels throughout the day. It’s worn on the back of your upper arm and transmits your glucose information to a compatible smartphone app.
Stelo sensors can be worn for up to 15 days. Users have a 12-hour grace period to replace their sensor at a time that’s convenient for them after the sensor session has ended.
When your sensor has expired or you want to replace it, you’ll need to remove your old sensor before you can use a new one.
How to Remove Stelo Sensor Step-by-Step
Removing your Stelo sensor isn’t complicated and doesn’t require any special medical equipment. However, being gentle and taking your time can make it easier and more comfortable.
Follow these steps:
Step 1: Prepare to Remove Your Sensor
Before you remove your Stelo sensor, wash your hands with soap and water and dry them completely.
Find a comfortable position where you can easily access the sensor on the back of your upper arm.
You may also want to have the following items on hand:
- Clean towel
- Baby oil or body oil
- Skin-safe adhesive remover
- Adhesive removal wipes
- Mild soap and water
The items listed above are optional but can help you if you find that the adhesive is difficult to remove.
Step 2: Find the Edge of the Adhesive Patch
Look around the edge of the adhesive patch on your Stelo sensor.
Gently use your fingernail to lift one corner of the adhesive. Don’t pull the sensor off suddenly as this can cause unnecessary pain or irritate your skin.
If you find that the adhesive is very sticky, you can apply some body oil or skin-safe adhesive remover around the edge that you’ve exposed. Follow the product’s instructions and let the adhesive loosen.
Step 3: Gently Peel the Stelo Sensor Off
After you’ve loosened the edge of the adhesive, gently peel the sensor off your skin like you would a regular adhesive bandage.
For a more comfortable experience:
- Pull the adhesive slowly instead of pulling it off quickly.
- Fold the patch back on itself.
- Pull in the direction of hair growth.
- Gently hold the surrounding skin with your other hand.
- Stop if you experience significant pain or see unusual bleeding.
Taking your time can help to prevent any pulling and irritation.
Step 4: Remove Any Remaining Adhesive
After you’ve removed your Stelo sensor, you may find that some sticky residue is left on your arm.
This is common with many wearable glucose monitoring devices.
You can try using a skin-safe adhesive remover or a small amount of body oil to help loosen any remaining adhesive. Gently wipe the area without scrubbing too hard.
Wash the area with mild soap and water and pat dry with a clean towel.
Step 5: Check Your Skin
After removing your sensor, carefully check the area where you had the sensor applied.
Check for any redness, swelling, irritation, bleeding, or unusual pain.
Mild redness after you’ve removed an adhesive patch can be normal and temporary. However, if you experience significant irritation, pain that persists, swelling, or signs of infection, you should speak with a healthcare professional.
If you find that some of the sensor wire is still under your skin, don’t try to dig it out. Contact your healthcare provider for help.
How to Remove Stelo Sensor Without Hurting Your Skin
Some people find removing their Stelo glucose sensor to be uncomfortable, especially if the adhesive is very sticky.
Here are some helpful tips:
1. Use Baby Oil: Applying a small amount of body oil around the edge of the adhesive can help to loosen the patch.
2. Use Adhesive Removal Wipes: Skin-safe adhesive removal wipes can help to make peeling easier and help to prevent any pulling.
3. Peel Slowly: Don’t pull the sensor straight off your arm. Fold the patch back on itself and remove it slowly.
4. Support Your Skin: Use your other hand to gently hold the skin as you remove the adhesive.
5. Don’t Use Sharp Objects: Never use scissors, knives, needles, or other sharp objects to remove the sensor from your skin.
Using these techniques can help make the removal process easier and help to protect your skin.
When to Remove Your Stelo Sensor?
Stelo sensors can be worn for up to 15 days. However, there are a few situations when you might need to remove your sensor.
- Your sensor is expired: Your sensor session has ended after 15 days.
- Your sensor is broken: You see a sensor failure notification in your app.
- Your sensor session has ended early: The device can no longer provide you with glucose readings.
- You want to replace your sensor: You want to start a new sensor session.
- Your sensor adhesive is loose or coming off: The sensor is coming off or loose.
How to Replace Your Stelo Sensor After Removing It
If you want to use another Stelo sensor, you’ll need to remove your previous sensor first.
Follow these basic steps:
- Open the Stelo app on your smartphone.
- Tap Settings.
- Tap Sensor.
- Tap Replace Sensor to start a new sensor session.
- Gently remove your old sensor.
- Follow the in-app instructions to insert your new sensor.
- Apply the new overpatch as instructed.
- Scan the QR code to pair your new sensor.
Once you’ve successfully paired your new sensor, it’ll start its warm-up period.
Remember that you can only use one Stelo sensor at a time.
What to Do After Removing Your Stelo Sensor?
After you’ve removed your sensor, give your skin some time to recover before applying another sensor.
Here are some simple things you can do:
- Gently clean the area where you had the sensor applied.
- Don’t scratch or rub any irritated skin.
- Let the area dry completely.
- Don’t apply moisturizer right before you insert a new sensor.
- Follow the recommended instructions for placing the sensor.
- If appropriate, use a different suitable area to apply the sensor according to the product instructions.
Dispose of your used sensor according to local guidelines for devices that contain blood-contacting components.
FAQs
1. Does Removing a Stelo Sensor Hurt?
Removing a Stelo sensor is generally not too painful. However, if the adhesive is very sticky, it can pull on your body hair or irritate sensitive skin. Peeling the sensor slowly and using a skin-safe adhesive remover can make the process more comfortable.
2. Can I Remove My Stelo Sensor Before 15 Days?
Yes, you can end your sensor session early in the Stelo app. Open Settings, tap Sensor, and then tap Stop Sensor Session or Replace Sensor depending on what you’re trying to do.
3. How to Remove Stelo Adhesive From My Skin?
You can try using body oil or a skin-safe adhesive remover to help loosen any sticky residue. Gently wipe the area and wash with mild soap and water.
4. Can I Reuse My Stelo Sensor After Removing It?
No, you shouldn’t reuse or reinsert a used Stelo sensor. You’ll need a new sensor to start a new sensor session.
5. What Should I Do If My Stelo Sensor Wire Breaks?
Don’t try to remove a broken or detached sensor wire if it’s still under your skin. Contact your healthcare provider, especially if you’re experiencing pain, redness, swelling, or other signs of infection.
Final Thoughts
Knowing how to remove Stelo sensor properly can make replacing your glucose monitoring device much easier. It’s important to prepare your skin, gently loosen the adhesive, and slowly peel the patch off instead of pulling it off suddenly.
If you still have some adhesive on your skin, use a suitable remover and gently clean the area. Always follow the official Stelo instructions and if you have significant irritation, pain, or suspect that your sensor wire is broken, contact a healthcare professional.
With the proper removal technique, you can make your next Stelo sensor replacement more comfortable and protect your skin between monitoring sessions.